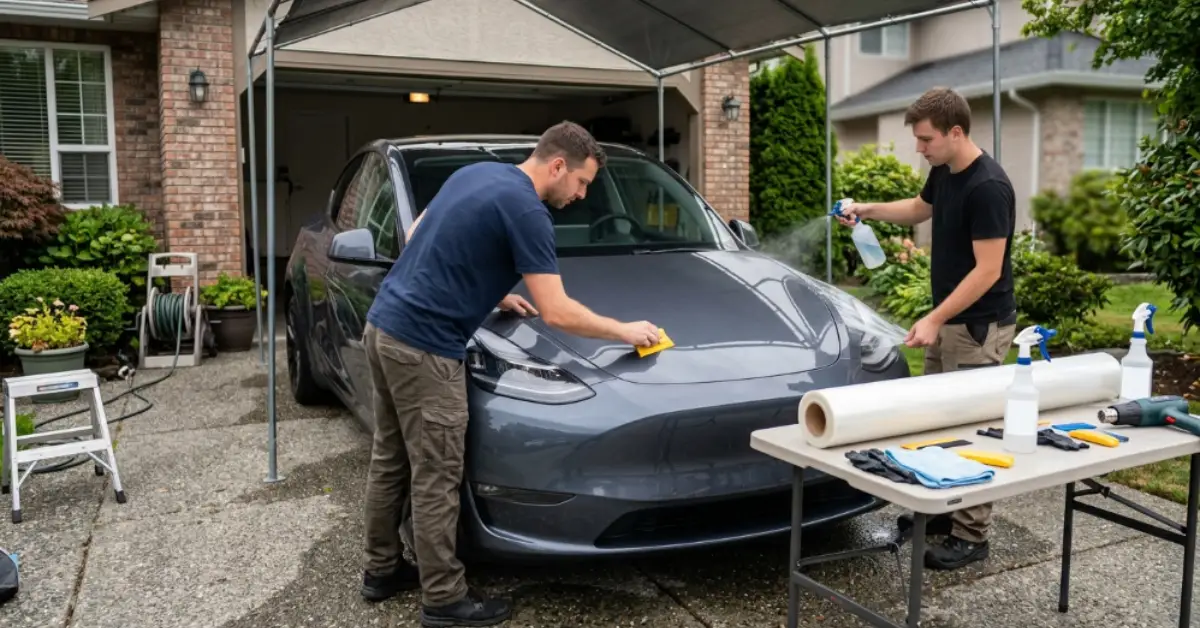
Paint Protection Film (PPF) has become one of the most popular ways to protect a vehicle’s paint from scratches, stone chips, road debris, and harsh weather. Many car owners want to keep their vehicles looking new for years, which raises an important question: can you install PPF at home?
The short answer is yes, you can install PPF at home if you have the right tools, patience, and basic technical knowledge. However, DIY installation can be challenging because the film must be applied with precision to avoid bubbles, wrinkles, and alignment issues.
Professional installation usually provides better results because trained technicians use advanced techniques and specialized equipment. While a DIY approach may save money at first, professional application often offers better durability, appearance, and long-term value.
What Is Paint Protection Film?
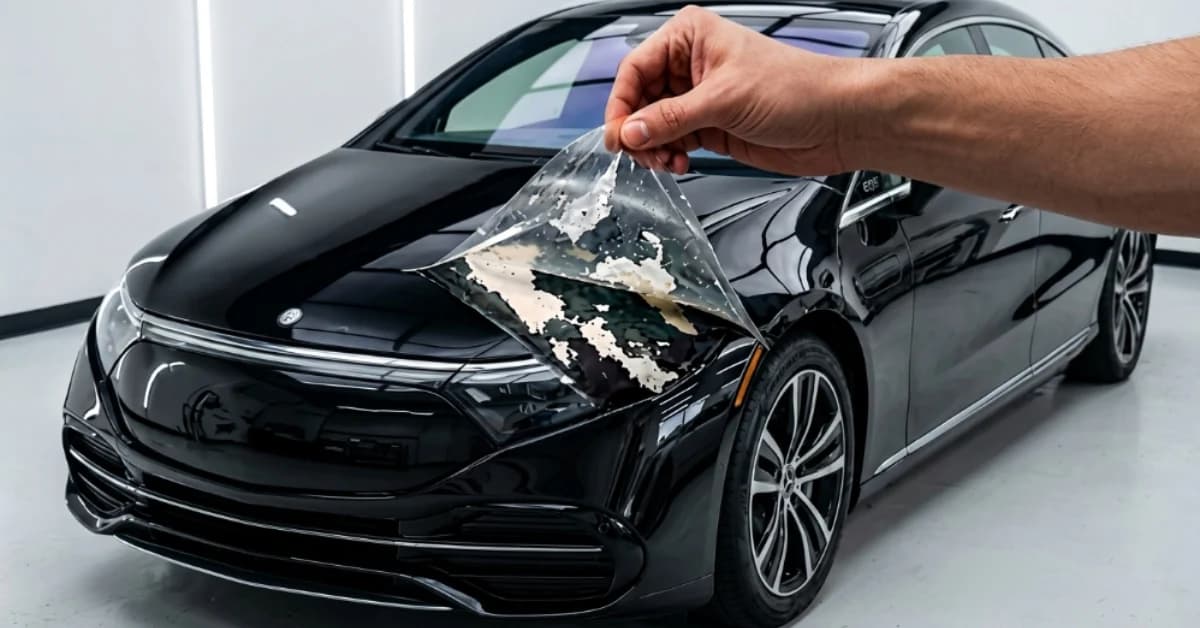
Paint Protection Film is a transparent polyurethane film applied to a vehicle’s painted surfaces. It acts as a protective layer between the paint and external elements that can cause damage. Modern films are designed to absorb minor impacts and resist scratches, helping maintain the vehicle’s original finish.
Many premium films also include self-healing technology. Small scratches on the surface can disappear when exposed to heat from sunlight or warm water. This feature helps the vehicle maintain a smooth and glossy appearance over time.
PPF is commonly installed on high-impact areas such as the hood, front bumper, fenders, mirrors, doors, and side skirts.
Why Do People Consider DIY PPF Installation?
Many vehicle owners choose the DIY route to reduce installation costs. Professional services can be expensive, especially when covering the entire vehicle. A DIY kit often costs significantly less, making it attractive for budget-conscious car owners.
Another reason is the availability of online tutorials and pre-cut kits. These kits are designed for specific vehicle models and include film pieces that match the shape of different panels. While these products make the process easier, they do not eliminate the skill required for a successful installation. Applying the film correctly still requires careful handling and attention to detail.
Tools Needed for DIY Installation
Installing protective film at home requires more than just the film itself. Several tools help ensure proper placement and adhesion. Without the right equipment, achieving a clean finish becomes much harder.
Common tools include:
- Spray bottle with slip solution
- Spray bottle with tack solution
- Squeegee
- Microfiber cloths
- Heat gun or steamer
- Precision cutting knife
- Measuring tape
- Application gloves
These tools help position the film, remove moisture, and secure the material to the vehicle surface. Proper preparation is just as important as having the correct equipment.
How Does the DIY PPF Installation Process Work?
Installing Paint Protection Film at home requires patience, a clean space, and careful handling. Each step must be done slowly because even a small mistake can create bubbles, dust marks, or poor alignment. Below are the main steps of the DIY installation process explained in a simple way.
Step 1: Deep Cleaning the Vehicle Surface
The installation process begins with thoroughly cleaning the vehicle. Any dirt, dust, wax, or grease left on the surface can get trapped under the film and damage the final look. Most installers use a car shampoo, clay bar, and special degreasers to make the surface smooth and clean. This step is very important because PPF sticks best only on a perfectly clean surface.
Step 2: Preparing Slip Solution for Easy Application
After cleaning, a slip solution is prepared and sprayed on the paint surface. This solution helps the film move freely during installation, so it does not stick immediately. Some installers also spray the same solution on the adhesive side of the film. This makes it easier to adjust the position of the film before final fixing.
Step 3: Positioning and Aligning the Film
The next step is carefully placing the film on the panel. The installer gently moves it until it matches the shape of the car part. Proper alignment is very important because once the film sticks, adjusting it becomes difficult. This step requires focus to ensure edges and corners fit correctly without stretching the material too much.
Step 4: Removing Water and Air with a Squeegee
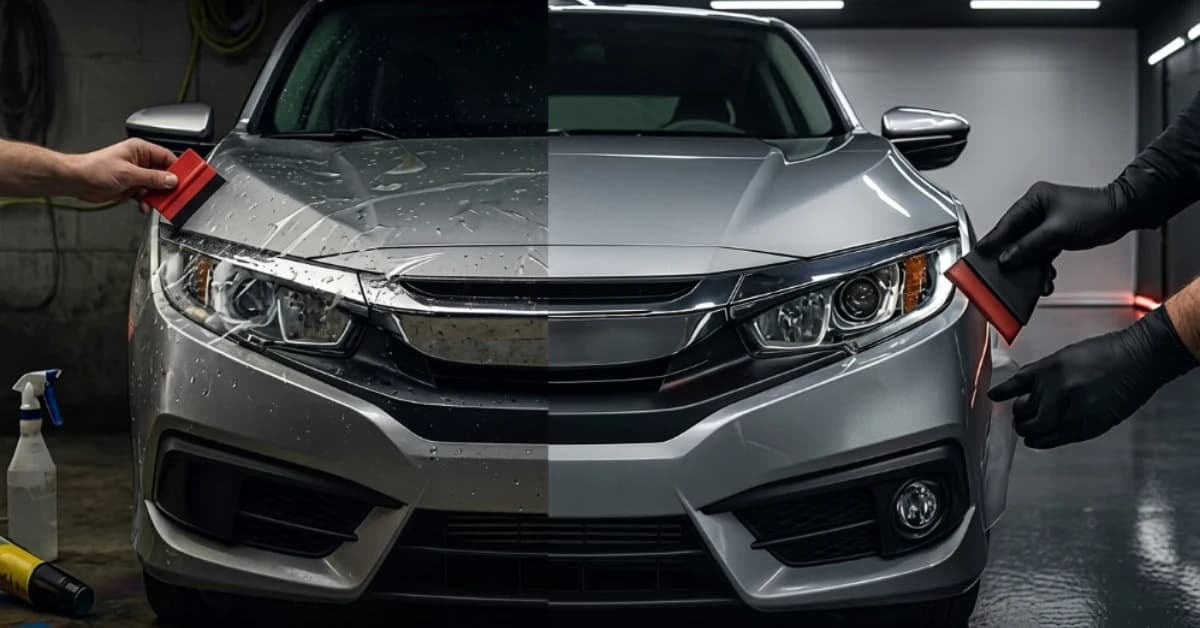
After the film is positioned correctly, a squeegee is used to push out water and air trapped underneath. This helps the film stick smoothly to the paint surface. The installer works from the center and slowly moves toward the edges. If air bubbles are left inside, they can affect both the look and durability of the film.
Step 5: Applying Heat for Better Fit and Finish
Once the film is mostly set, heat may be applied using a heat gun or steamer. This helps the film soften and adjust to curved areas like bumpers and mirrors. Heat also improves adhesion and reduces the chances of lifting at the edges. This step must be done carefully because too much heat can damage the film.
Step 6: Final Inspection and Edge Sealing
In the last step, the installer checks the entire surface for bubbles, dust, or lifting edges. Any small issues are fixed immediately using light pressure or heat. Proper edge sealing is important because it ensures the film stays in place for a long time and does not peel off during washing or driving.
Common Challenges of DIY PPF Installation
Although Paint Protection Film installation looks simple in videos, real-life application is much harder. Many beginners face issues that affect the final look and durability of the film. Below are the most common challenges explained in detail.
1. Air Bubbles Trapped Under The Film
One of the biggest problems in DIY installation is air getting trapped between the paint and the film surface. These bubbles usually form when the squeegee is not used properly or when dust is present. They can make the surface look uneven and also reduce the strength of the adhesive bond over time.
2. Incorrect Stretching Of The Film Material
Many users stretch the film too much while trying to fit it on the panel. This can cause the material to lose its natural shape, create visible distortion, and weaken the grip on edges. Once overstretched, the film may not return to its original form, which affects the overall finish.
3. Difficulty On Curved Vehicle Surfaces
Areas like bumpers, mirrors, and fenders are very hard to cover because they have complex curves. The film needs to bend smoothly without folding or wrinkling. Beginners often struggle here, and even small mistakes can lead to visible creases or uneven coverage on the surface.
4. Edge Lifting After Installation
If the edges are not pressed or heated properly, they may start lifting after some time. This usually happens due to poor adhesion or trapped moisture. Once lifting starts, dirt and water can enter underneath, which slowly reduces the life of the protective film.
5. Dust Contamination During Application
Even a small dust particle can get trapped under the film and become clearly visible after installation. This often happens when the working area is not clean enough. Dust spots not only affect appearance but also create weak points in the adhesive layer.
6. High Risk Of Wasting Material
DIY installation often leads to mistakes that require removing and replacing sections of film. Since PPF is expensive, repeated errors can increase total cost quickly. In many cases, beginners end up using more material than expected due to rework and correction attempts.
Advantages of Installing PPF at Home
DIY installation offers some benefits, especially for individuals who enjoy working on their vehicles. The biggest advantage is cost savings. Purchasing a kit is generally cheaper than hiring a professional installer.
Other benefits include:
- Greater control over the project
- Flexible installation schedule
- Opportunity to learn a new skill
- Lower labor expenses
- Ability to repair small sections independently
For simple applications on flat surfaces, a DIY project may produce acceptable results when completed carefully. However, success depends heavily on patience and attention to detail.
Disadvantages of DIY Installation
Despite the potential savings, DIY installation comes with several risks. The film itself can be expensive, and mistakes may result in wasted material. If multiple sections need replacement, the total cost can increase quickly.
Additional disadvantages include:
- Higher chance of bubbles and wrinkles
- Difficulty working around complex curves
- Longer installation time
- Limited access to professional-grade tools
- No workmanship warranty
Many vehicle owners discover that achieving a professional finish is more difficult than expected. This is especially true for luxury vehicles where appearance matters significantly.
What Makes Professional Installation Different?
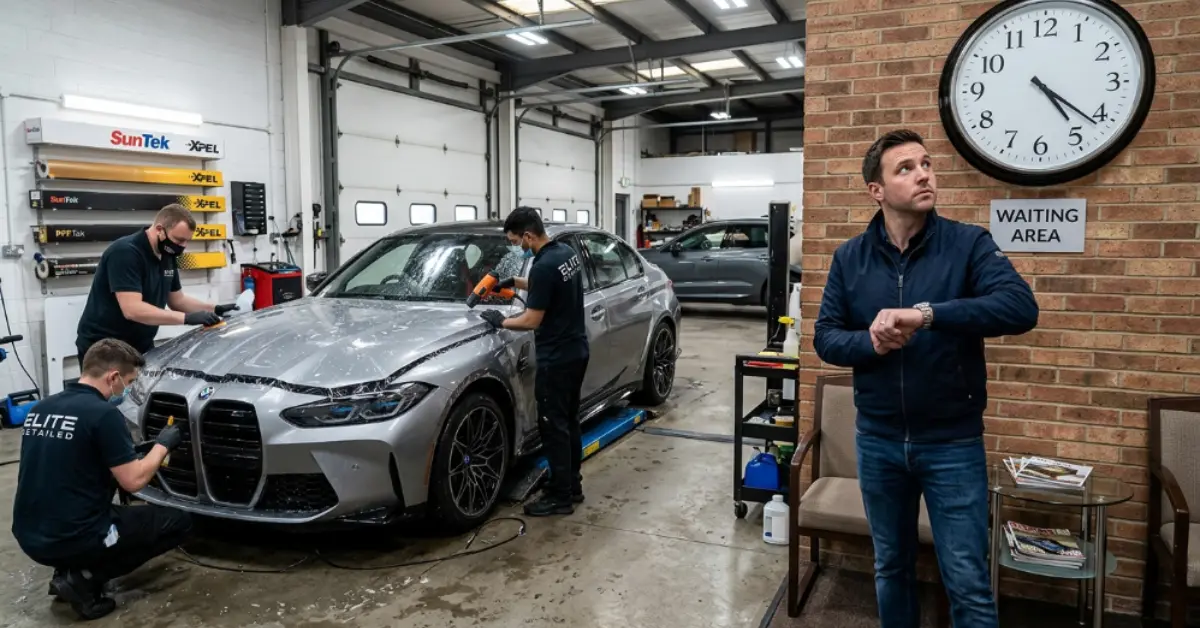
Professional installers receive training on film application techniques and understand how different materials behave. They work in controlled environments that reduce dust contamination and improve installation quality.
Many professional shops also use software-guided cutting systems. These systems create highly accurate film patterns for specific vehicle models. Precision-cut templates reduce the risk of cutting directly on painted surfaces and help ensure better coverage. Combined with experience and specialized tools, these methods often produce a cleaner and more consistent finish than most DIY installations.
Quality Comparison: DIY vs Professional Installation
The difference between DIY and professional Paint Protection Film installation is usually clear right after the work is done. Professional installation gives a cleaner finish with smooth edges, better alignment, and fewer visible flaws.
On the other hand, DIY work depends heavily on skill, patience, and tools, so results can vary. To understand it better, here is a simple side-by-side comparison.
Feature | DIY Installation | Professional Installation |
Surface Finish | Often uneven with possible bubbles, dust spots, or small wrinkles on panels | Very smooth and clean finish with almost no visible imperfections |
Edge Quality | Edges may lift or look slightly rough if not sealed properly | Sharp, sealed edges that stay firm and well-adhered for long time |
Alignment Accuracy | Small misalignment is common, especially on curved panels | Perfect alignment using advanced tools and experience |
Durability | May reduce over time if moisture or air is trapped underneath | Long-lasting adhesion with lower risk of peeling or lifting |
Tools & Equipment | Basic tools like a squeegee, spray bottle, and heat gun | Professional-grade tools, cutting software, and controlled workspace |
Time Required | Takes longer due to learning, mistakes, and adjustments | Faster process due to experience and proper workflow |
Risk of Damage | Higher chance of wasting film or damaging paint during correction | Very low risk due to skilled handling and proper techniques |
Final Appearance | Good for practice but may lack premium showroom finish | High-end, factory-like finish suitable for luxury vehicles |
Professional installation is usually preferred for high-value cars because it ensures both strong protection and a visually perfect result. DIY can still work for small projects, but it rarely matches the consistency and finish of expert work.
Cost Comparison Between DIY and Professional Installation
Cost is one of the main factors influencing the decision. DIY kits can range from a few hundred dollars to over a thousand dollars depending on vehicle size and film quality. Additional tools may also need to be purchased.
Professional installation costs more because it includes labor, expertise, and warranty coverage. Pricing varies based on:
- Vehicle size
- Coverage area
- Film brand
- Surface complexity
- Installer experience
Although professional installation requires a larger investment, many vehicle owners consider it worthwhile because of the improved finish and longer-lasting protection.
When Is DIY Installation a Good Choice?
DIY installation may be suitable for people who already have experience with vehicle wraps, window tinting, or similar automotive projects. It can also work well for small sections such as door edges, headlights, or interior trim pieces.
Individuals who enjoy hands-on projects and have access to a clean workspace may find the process rewarding. However, realistic expectations are important. The final result may not match the quality achieved by a professional installer, especially on large or complex vehicle panels.
When Should You Choose Professional Installation?
Professional installation is often the better option for new vehicles, luxury cars, sports cars, and high-value vehicles. These vehicles benefit from maximum paint protection and a flawless appearance.
A professional service is also recommended when covering large areas such as the full front end or entire vehicle. Complex surfaces require advanced stretching and positioning techniques that experienced installers perform daily. Choosing a professional reduces the risk of costly mistakes and provides peace of mind through warranty protection.
Final Thoughts
Paint Protection Film can be installed at home, but the process requires skill, patience, proper tools, and careful preparation. DIY installation may help save money, especially for smaller applications, but achieving a smooth and professional finish can be challenging.
Professional installers have the experience, equipment, and controlled work environments needed to deliver higher-quality results. For vehicle owners who want long-lasting protection, clean edges, and the best overall appearance, professional installation is often the smarter investment.
Looking for expert paint protection for your vehicle? Zenfo Auto Services provides professional PPF installation services using high-quality films and experienced technicians.